共通の処理をまとめよう
ここまで実装してきた中で、同じような処理をしている箇所がいくつかあります。
コントローラーやビューで同じ処理をしている箇所に関しては、共通化させましょう。
コントローラーの処理を共通化しよう
employees_controller.rb の中で各アクション内で重複しているコードを共通化していきます。
before_actionを使えば、各アクションが実行される前に定義したメソッドを実行することができます。
before_actionの使い方
before_actionは、各アクションの定義の前に記述します。
1
2
3
4
5
6
7
8
class EmployeesController < ApplicationController
  before_action :メソッド名

  private

  def メソッド名
  end
end
上記のように記述すると、各アクションが実行される前に before_action で設定したメソッドが実行されます。
app/controllers/ディレクトリ内にあるemployees_controller.rbを開いて、重複部分を確認しましょう
以下のハイライトされる箇所が重複していますね。
1
2
3
4
5
6
7
8
9
10
11
12
13
14
15
16
17
18
19
20
21
22
23
24
25
26
27
28
29
30
31
32
33
34
35
36
37
38
39
40
41
42
43
44
45
46
47
48
49
class EmployeesController < ApplicationController
  def index
    @employees = Employee.all
  end

  def new
    @employee = Employee.new
    @departments = Department.all
  end

  def create
    @departments = Department.all
    @employee = Employee.new(employee_params)

    if @employee.save
    else
      render :new, status: :unprocessable_entity
    end
  end

  def show
    @employee = Employee.find(params[:id])
  end

  def edit
    @employee = Employee.find(params[:id])
    @departments = Department.all
  end

  def update
    @employee = Employee.find(params[:id])

    if @employee.update(employee_params)
    else
        render :edit, status: :unprocessable_entity
    end
  end

  def destroy
    @employee = Employee.find(params[:id])
    @employee.destroy
  end

  private

  def employee_params
    params.require(:employee).permit(:name, :birthday, :department_id)
  end
end
@employee = Employee.find(params[:id])がshow, edit, update, destroyのアクションで重複していますね。この部分は、メソッドに切り出します。
まずは、@employee = Employee.find(params[:id])をset_employeeメソッドに切り出します。
まずこの共通している処理をメソッドに切り出します。
employee_paramsメソッドの後にset_employeeメソッドを定義しましょう。
1
2
3
def set_employee
    @employee = Employee.find(params[:id])
end
show, edit, update, destroyのアクションで記述される@employee = Employee.find(params[:id]) を全て削除しましょう。

set_employeeメソッドに重複する処理を切り出すことができたので、スッキリしましたね。
1
2
3
4
5
6
7
8
9
10
11
12
13
14
15
16
17
18
19
20
21
22
23
24
25
26
27
28
29
30
31
32
33
34
35
36
37
38
39
40
41
42
43
44
45
46
47
48
class EmployeesController < ApplicationController
  def index
    @employees = Employee.all
  end

  def new
    @employee = Employee.new
    @departments = Department.all
  end

  def create
    @departments = Department.all
    @employee = Employee.new(employee_params)

    if @employee.save
    else
      render :new, status: :unprocessable_entity
    end
  end

  def show
  end

  def edit
    @departments = Department.all
  end

  def update
    if @employee.update(employee_params)
    else
        render :edit, status: :unprocessable_entity
    end
  end

  def destroy
    @employee.destroy
  end

  private

  def employee_params
    params.require(:employee).permit(:name, :birthday, :department_id)
  end

  def set_employee
    @employee = Employee.find(params[:id])
  end
end
あとは、定義した set_employee メソッド をbefore_actionで指定したアクションで呼び出すようにすれば、処理を共通化できます。onlyオプションの使い方についてはこちらの記事を参考にして下さい。
employees_controller.rbを開いて、以下のように編集しましょう。
1
2
3
4
5
6
7
8
9
10
11
12
13
14
15
16
17
18
19
20
21
22
23
24
25
26
27
28
29
30
31
32
33
34
35
36
37
38
39
40
41
42
43
44
45
46
47
48
49
50
class EmployeesController < ApplicationController
  before_action :set_employee, only: %i[ show edit update destroy ]

  def index
    @employees = Employee.all
  end

  def new
    @employee = Employee.new
    @departments = Department.all
  end

  def create
    @departments = Department.all
    @employee = Employee.new(employee_params)

    if @employee.save
    else
      render :new, status: :unprocessable_entity
    end
  end

  def show
  end

  def edit
    @departments = Department.all
  end

  def update
    if @employee.update(employee_params)
    else
        render :edit, status: :unprocessable_entity
    end
  end

  def destroy
    @employee.destroy
  end

  private

  def employee_params
    params.require(:employee).permit(:name, :birthday, :department_id)
  end

  def set_employee
    @employee = Employee.find(params[:id])
  end
end
ビューファイルの処理を共通化しよう!
各ビューファイルで重複しているコードを共通化していきます。
部分テンプレートを使えば、各ビューファイルの処理を共通化できます。
部分テンプレートの使い方
1
render 'ファイル名'    # 指定したテンプレートファイルを呼び出す
部分テンプレートは、上記のように render でファイル名を指定すれば、指定したファイルのソースコードを挿入することができます。
ビューファイルのnew.html.erb と edit.html.erb を開いてみましょう。
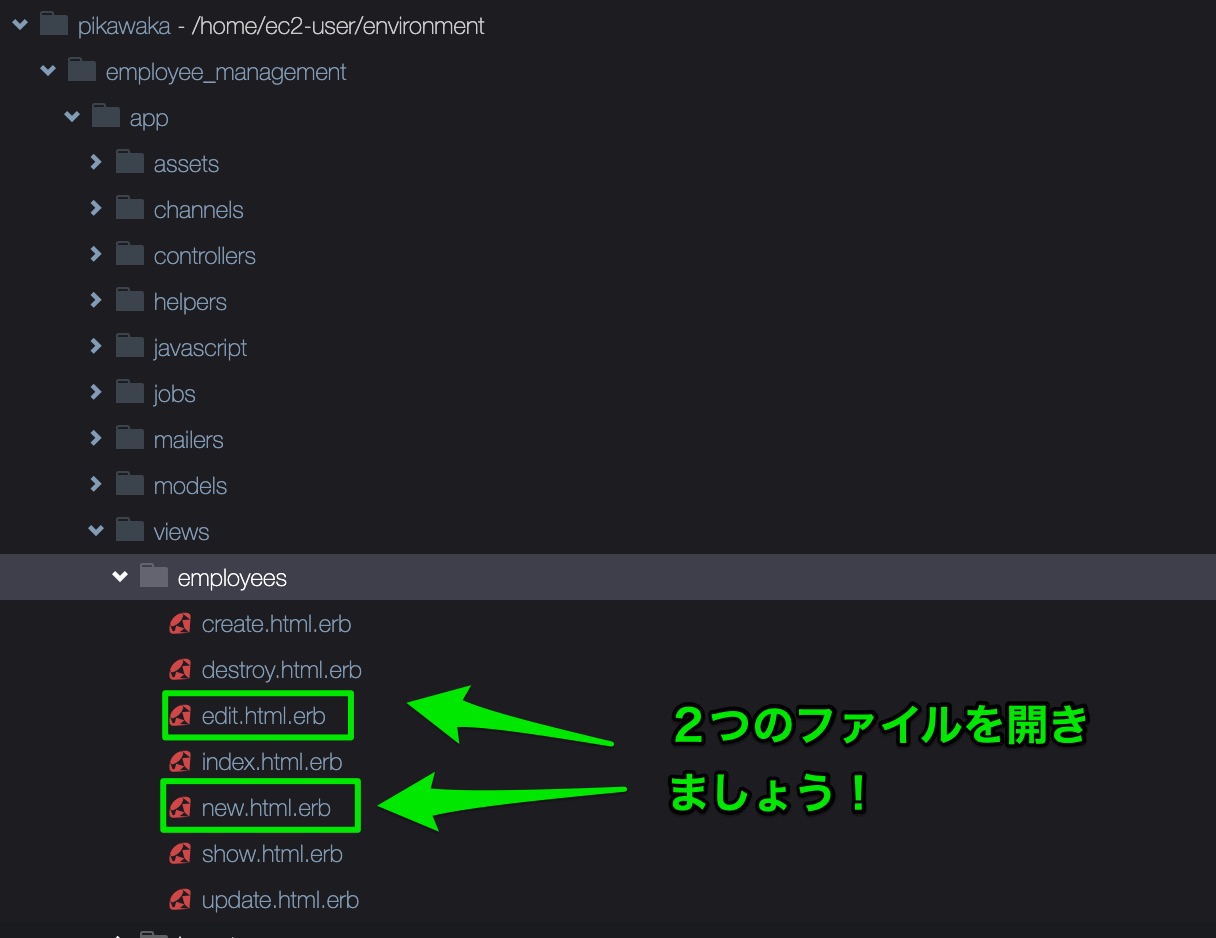
link_toメソッドの箇所以外は、重複していますね。
1
2
3
4
5
6
7
8
9
10
11
12
13
14
15
16
17
18
19
20
21
22
23
24
25
26
27
28
29
30
31
32
33
<div>
  <h1>社員を新規作成</h1>

  <%= form_with(model: @employee) do |form| %>
    <% if @employee.errors.any? %>
      <div>
        <ul>
          <% @employee.errors.full_messages.each do |message| %>
            <li><%= message %></li>
          <% end %>
        </ul>
      </div>
    <% end %>

    <div>
      <%= form.label :name %>
      <%= form.text_field :name %>
    </div>

    <div>
      <%= form.label :birthday %>
      <%= form.date_field :birthday %>
    </div>

    <div>
      <%= form.label :department_id, "Department:" %>
      <%= form.collection_select :department_id, @departments, :id, :name %><br>
    </div>

    <%= form.submit %>
    <%= link_to '社員一覧画面に戻る', employees_path %>
  <% end %>
</div>
1
2
3
4
5
6
7
8
9
10
11
12
13
14
15
16
17
18
19
20
21
22
23
24
25
26
27
28
29
30
31
32
33
<div>
  <h1>社員を編集</h1>

  <%= form_with(model: @employee) do |form| %>
    <% if @employee.errors.any? %>
      <div>
        <ul>
          <% @employee.errors.full_messages.each do |message| %>
            <li><%= message %></li>
          <% end %>
        </ul>
      </div>
    <% end %>

    <div>
      <%= form.label :name %>
      <%= form.text_field :name %>
    </div>

    <div>
      <%= form.label :birthday %>
      <%= form.date_field :birthday %>
    </div>

    <div>
      <%= form.label :department_id, "Department:" %>
      <%= form.collection_select :department_id, @departments, :id, :name %><br>
    </div>

    <%= form.submit %>
    <%= link_to "社員の詳細情報を見る", employee_path(@employee) %>
  <% end %>
</div>
部分テンプレートファイルに切り出しましょう。
app/views/employees/_form.html.erb ファイルを作成して以下の内容を記述して下さい。
1
2
3
4
5
6
7
8
9
10
11
12
13
14
15
16
17
18
19
20
21
22
23
24
25
26
27
28
29
30
31
32
33
34
35

<%= form_with(model: @employee) do |form| %>
  <% if @employee.errors.any? %>
    <div>
      <ul>
        <% @employee.errors.full_messages.each do |message| %>
          <li><%= message %></li>
        <% end %>
      </ul>
    </div>
  <% end %>

  <div>
    <%= form.label :name %>
    <%= form.text_field :name %>
  </div>

  <div>
    <%= form.label :birthday %>
    <%= form.date_field :birthday %>
  </div>

  <div>
    <%= form.label :department_id, "Department:" %>
    <%= form.collection_select :department_id, @departments, :id, :name %><br>
  </div>

  <%= form.submit %>

  <% if action_name == "new" %>
    <%= link_to '社員一覧画面に戻る', employees_path %>
  <% elsif action_name == "edit" %>
    <%= link_to "社員の詳細情報を見る", employee_path(@employee) %>
  <% end %>
<% end %>
部分テンプレートファイルを _form.html.erb ファイルに切り出しました。
部分テンプレートファイルの特徴として、ファイル名の最初に _ を付ける必要があるので、注意しましょう。
link_to の箇所だけ記述が異なるので、以下のようにそれぞれの action によって表示するリンクを変えるように条件分岐しました。
1
2
3
4
5
<% if action_name == "new" %>
    <%= link_to '社員一覧画面に戻る', employees_path %>
  <% elsif action_name == "edit" %>
    <%= link_to "社員の詳細情報を見る", employee_path(@employee) %>
  <% end %>
それでは、new.html.erb を以下のように修正し、共通化している部分テンプレートファイルを呼び出しましょう。
1
2
3
4
5
6

<div>
  <h1>社員を新規作成</h1>

  <%= render "form", employee: @employee %>
</div>
同じく edit.html.erb も以下のように修正し、共通化している部分テンプレートファイルを呼び出しましょう。
edit.html.erb を以下のように修正して下さい。
1
2
3
4
5
6

<div>
  <h1>社員を編集</h1>

  <%= render "form", employee: @employee %>
</div>
部分テンプレートファイルを使うことで、重複している記述を共通化できました。
<%= render "form", employee: @employee %> のようにして変数をファイルに渡しています。
変数の渡し方については localsオプションを参考にして下さい。
投稿フォーム以外にも、一覧ページと詳細ページにも共通化している記述があるので、部分テンプレートで切り出しましょう。
app/views/employees/_employee.html.erb を作成して以下の内容を記述して下さい。
1
2
3
4
5
6
7
8
9
10
11
12
13
14
15
16
17
18
19
20
<div>
  <p>
    <strong>Name:</strong>
    <%= employee.name %>
  </p>

  <p>
    <strong>Birthday:</strong>
    <%= employee.birthday %>
  </p>

  <p>
    <strong>Department:</strong>
    <%= employee.department.name %>
  </p>

  <%= link_to "社員の詳細情報を見る", employee_path(employee) if action_name != 'show' %>
  <%= link_to '社員を編集する', edit_employee_path(employee) %>
  <hr>
</div>
index.html.erb を以下のように修正して下さい。
1
2
3
4
5
6
7
8
9

<div>
  <div>
    <h1>社員情報一覧</h1>
    <%= link_to '社員を作成', new_employee_path %>
  </div>

  <%= render @employees %>
</div>
show.html.erb を以下のように修正して下さい。
1
2
3
4
5
6
7
8
9
10
11

<div>
  <div>
    <%= render @employee %>

    <%= link_to '社員一覧画面に戻る', employees_path %>
    <div>
      <%= button_to '社員を削除する', employee_path(@employee), method: :delete %>
    </div>
  </div>
</div>
今回は部分テンプレートファイルを <%= render @employees %> と指定して呼び出しています。
この書き方は「省略した書き方」になります。書き方は省略した書き方の記事を参考にして下さい。
flashメッセージを表示しよう
フラッシュメッセージとは、新規登録、更新、削除などのアクション実行後にメッセージを表示させる機能のことです。
今回は以下のアクション実行後に画面遷移する際に、フラッシュメッセージを表示させます。
- 新規登録
- 更新
- 削除
redirect_to というメソッドを使うことで画面遷移することができます。
redirect_toの使い方
1
redirect_to "画面遷移先"
上記のように例えば redirect_to employees_path と打つと、社員一覧画面に画面遷移します。
このように画面遷移したい場合は、redirect_to 'URL' を入力するようにしましょう。
redirect_to の詳しい使い方は、こちらの記事を参考にして下さい。
作成、更新、削除が完了した後に、画面遷移させるようにしましょう。
以下のようにコントローラーを修正して下さい。
1
2
3
4
5
6
7
8
9
10
11
12
13
14
15
16
17
18
19
20
21
22
23
24
25
26
27
28
29
30
31
32
33
34
35
36
37
38
39
40
41
42
43
44
45
46
47
48
49
50
51
52
53
54
class EmployeesController < ApplicationController
    before_action :set_employee, only: %i[ show edit update destroy ]

    def index
        @employees = Employee.all
    end

    def new
        @employee = Employee.new
        @departments = Department.all
    end

    def create
        @departments = Department.all
        @employee = Employee.new(employee_params)

        if @employee.save
            redirect_to employee_path(@employee)
        else
            render :new, status: :unprocessable_entity
        end
    end

    def show
    end

    def edit
        @departments = Department.all
    end

    def update
        if @employee.update(employee_params)
            redirect_to employee_path(@employee)
        else
            render :edit, status: :unprocessable_entity
        end
    end

    def destroy
      @employee.destroy

      redirect_to employees_path
    end

    private

    def employee_params
        params.require(:employee).permit(:name, :birthday, :department_id)
    end

    def set_employee
        @employee = Employee.find(params[:id])
    end
end
これで画面遷移の設定は完了です。以下のようにそれぞれのアクション実行後に画面遷移していることを確認しましょう。
作成時

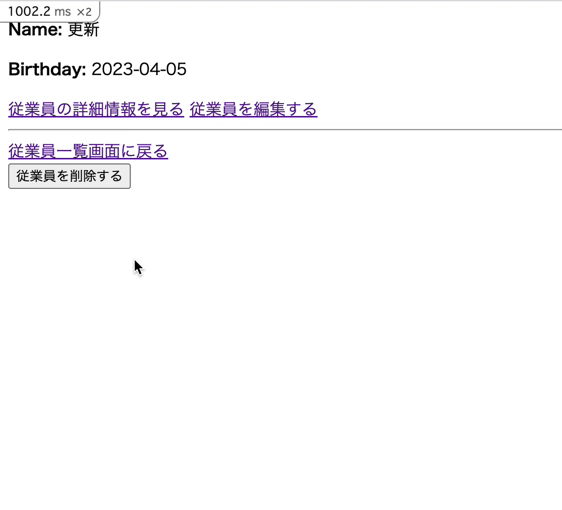
更新時
削除時

画面遷移させることを確認できれば、次は画面遷移時にflashメッセージを表示させるようにしましょう。
redirect_toを使ってflashメッセージを表示させる方法
1
redirect_to  URL, notice: '成功しました'
1
2

<%= notice %>
例えば、社員一覧画面遷移時に flashメッセージを表示させるには、以下のように書きます。
1
redirect_to  employees_path, notice: '社員一覧画面に遷移しました。'
上記のように書くことにより、まず社員一覧画面に画面遷移します。
そして notice: '社員一覧画面に遷移しました。' と書くことで、employees.html.erb に notice という変数を渡すことができます。
1
2
3
4

# notice  '社員一覧画面に遷移しました'という文字列がnoticeという変数に入っている。

<%= notice %> # '社員一覧画面に遷移しました'という文字列を表示
上記のようにemployees.html.erbファイルでコントローラーから渡ってきた noticeという変数の中身を表示できます。
以下のようにコントローラーを修正して下さい。
1
2
3
4
5
6
7
8
9
10
11
12
13
14
15
16
17
18
19
20
21
22
23
24
25
26
27
28
29
30
31
32
33
34
35
36
37
38
39
40
41
42
43
44
45
46
47
48
49
50
51
52
53
54
class EmployeesController < ApplicationController
    before_action :set_employee, only: %i[ show edit update destroy ]

    def index
        @employees = Employee.all
    end

    def new
        @employee = Employee.new
        @departments = Department.all
    end

    def create
        @departments = Department.all
        @employee = Employee.new(employee_params)

        if @employee.save
            redirect_to employee_path(@employee), notice: '社員を作成しました。'
        else
            render :new, status: :unprocessable_entity
        end
    end

    def show
    end

    def edit
        @departments = Department.all
    end

    def update
        if @employee.update(employee_params)
            redirect_to employee_path(@employee), notice: '社員情報を更新しました。'
        else
            render :edit, status: :unprocessable_entity
        end
    end

    def destroy
      @employee.destroy

      redirect_to employees_path, notice: '社員を削除しました。'
    end

    private

    def employee_params
        params.require(:employee).permit(:name, :birthday, :department_id)
    end

    def set_employee
        @employee = Employee.find(params[:id])
    end
end
flashメッセージを表示しましょう。
index.html.erbを修正しましょう。
1
2
3
4
5
6
7
8
9
10
11
12
<div>
  <% if notice.present? %>
    <p><%= notice %></p>
  <% end %>

  <div>
    <h1>社員情報一覧</h1>
    <%= link_to '社員を作成', '/employees/new' %>
  </div>

  <%= render @employees %>
</div>
show.html.erbを修正しましょう。
1
2
3
4
5
6
7
8
9
10
11
12
13
14
<div>
  <div>
    <% if notice.present? %>
      <p><%= notice %></p>
    <% end %>

    <%= render @employee %>

    <%= link_to '社員一覧画面に戻る', '/employees' %>
    <div>
      <%= button_to '社員を削除する', employee_path(@employee), method: :delete %>
    </div>
  </div>
</div>
以下のようにflash messageが表示されれば、完了です。
作成
更新
削除
resourcesメソッド
resourcesメソッドとは、リソースベースのルーティングを作成してくれるメソッドになります。
ルーティングを記述するroutes.rbの中で以下のように定義すれば、7つのアクションのルーティングを自動で作成します。
resourcesメソッドの使い方
1
2
3
Rails.application.routes.draw do
  resources :コントローラー名
end
今まで get post put patch delete を使ってルーティングを設定してきましたが、resources の記述だけで7つのアクションを自動で定義できます。
例えば、以下のようにresourcesメソッドを定義するとします。
1
2
3
Rails.application.routes.draw do
  resources :users
end
すると、以下の7つのルーティングを自動生成してくれます。
1
2
3
4
5
6
7
8
9
10
Rails.application.routes.draw do
  get '/users', to: 'users#index', as: 'users'
  get '/users/new', to: 'users#new', as: 'new_user'
  post '/users', to: 'users#create'
  get '/users/:id', to: 'users#show', as: 'user'
  get '/users/:id/edit', to: 'users#edit', as: 'edit_user'
  put '/users/:id', to: 'users#update'
  patch '/users/:id', to: 'users#update'
  delete '/users/:id', to: 'users#destroy'
end
| ヘルパーメソッド | URL | HTTPメソッド | 説明 |
|---|---|---|---|
| users_path | /users | GET | 一覧画面へのURL |
| users_path | /users | POST | データを作成するためのURL |
| new_user_path | /users/new | 新規作成画面へのURL | |
| user_path(既存のUserインスタンス) | /users/:id | GET | 詳細画面へのURL |
| edit_user_path(既存のUserインスタンス) | /users/:id/edit | GET | 編集画面へのURL |
| users_path(既存のUserインスタンス) | /users/:id | PUT | データを更新するためのURL |
| users_path(既存のUserインスタンス) | /users/:id | PATCH | データを更新するためのURL |
| users_path(既存のUserインスタンス) | /users/:id | DELETE | データを削除するためのURL |
また、onlyオプションを使うことで 7つのアクションのうち、どのアクションを使用するか指定できます。
以下のように書くと、indexアクションのみのルーティングを作成できます。
1
2
3
4
Rails.application.routes.draw do
  # get '/users', to: 'users#index' と同じルーティングを作成
  resources :users, only: :index
end
onlyオプションの使い方は、こちらの記事を参考にして下さい。
ルーティングファイルを以下のように修正して下さい。
1
2
3
Rails.application.routes.draw do
  resources :employees
end
この記事で学んだことをTwitterに投稿して、アウトプットしよう!
Twitterの投稿画面に遷移します